Complete Water Tank Waterproofing Guide: Methods & Maintenance
January 19, 2026
Explore effective water tank waterproofing techniques, compare popular materials, and learn key maintenance practices for long-term leak protection and safe water storage.
Complete Water Tank Waterproofing Guide: Methods & Maintenance
Have you ever dealt with unexpected water leaks or noticed a musty smell in your stored water? Whether it's for your home, apartment complex, or business, water tank waterproofing is one of those home care tasks that doesn't always get the attention it deserves until there's a problem. Protecting your water supply isn't just about extending the tank’s life; it’s about ensuring the water your family or community uses every day is safe and fresh.
Why Water Tank Waterproofing Matters
Let's be honest: water tanks are easy to ignore until you spot damp patches, find a leak, or deal with water contamination. In many cultures and climates, these tanks are a lifeline, storing precious clean water for drinking, cooking, bathing, and sometimes even firefighting. A single unnoticed leak can lead to huge water bills, mold growth, or health risks from contaminated water. Imagine hosting a family gathering, only to find out there’s no water due to an unnoticed drip that’s emptied your tank. Or discovering that algae buildup has spoiled your water supply. These very real scenarios highlight why regular water tank waterproofing is more than just maintenance it's peace of mind.
Common Methods for Water Tank Waterproofing
There are several reliable ways to keep your water tank sealed from leaks and safe from contaminants. Here’s a look at the most common approaches:
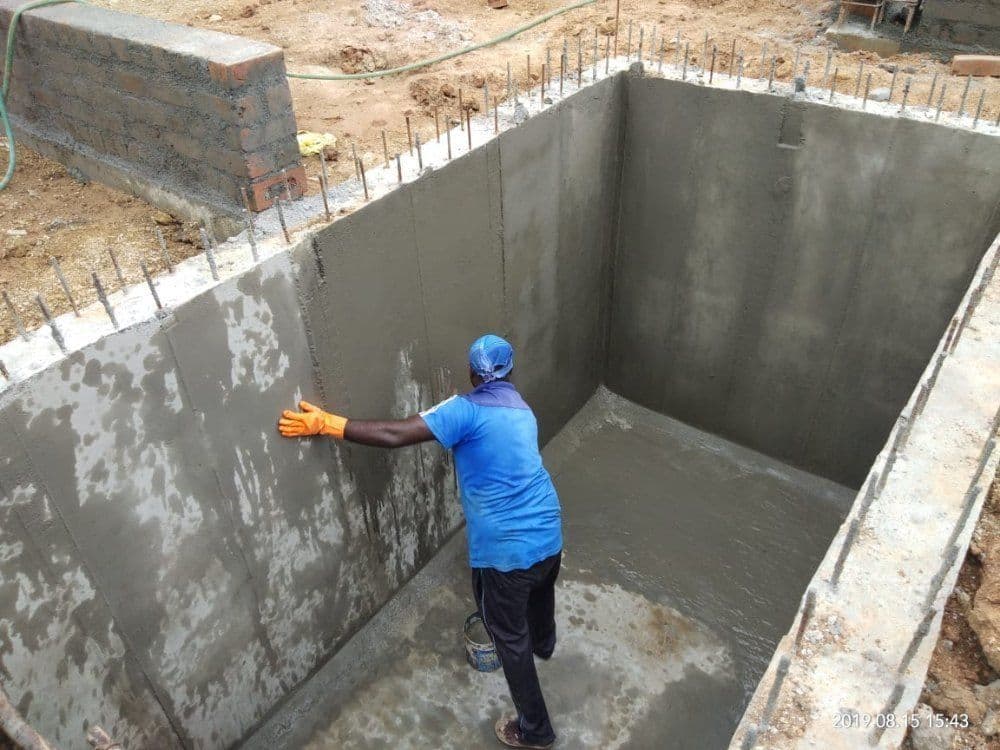
- Cementitious Waterproofing: This method uses a mixture of cement-based products and other additives. Once applied to the tank’s interior or exterior, it bonds with concrete, creating a solid, water-resistant layer. It’s popular for underground or concrete water tanks.
- Liquid Membrane Coating: Liquid membranes, often polyurethane or acrylic based, are brushed or rolled onto surfaces. They dry to form a flexible, seamless barrier, great for tanks that may experience slight movement or shifting.
No single method fits all; your choice will depend on tank material, climate, and whether you need internal or external protection. Consulting a professional can help you find the ideal solution for your setup.
Comparing Popular Waterproofing Materials
The material you choose for water tank waterproofing matters just as much as the method. Each has unique strengths, and some are better suited for drinking water than others. Here are a few top picks:
- Polyurethane and Acrylic Coatings: These offer high elasticity, withstand temperature changes, and are less prone to cracking. Make sure the product is certified safe for potable water, especially if you’re waterproofing a drinking water tank.
- Cement-Based Slurry: Non-toxic and highly compatible with concrete tanks, cement slurry is a go-to for many homes and businesses. It creates a rigid waterproof layer but might not be ideal if your tank structure flexes often.
- Epoxy Resins: These create a tough, chemical-resistant surface and are popular for both new builds and repairs. Again, choose a food-grade variant for safety.
When choosing a product, always verify health and environmental certifications, particularly for tanks supplying potable water. Safe storage matters as much as leak prevention.
Step-by-Step Tips for Water Tank Waterproofing
If you're considering a DIY approach or just want to be informed when chatting with your contractor, here’s a straightforward guide:
- Preparation is Key: Before any coating goes on, the tank must be empty, clean, and dry. Remove old flaking coatings, algae, debris, or rust.
- Choose the Right Products: Not all coatings are drink-water safe or suitable for your tank’s material, so double-check labels and consult with suppliers if needed.
- Proper Application: Follow manufacturer instructions for application thickness, layering, and curing times. Rushing can lead to poor adhesion or trapped moisture.
Doing it right the first time saves you money (and headaches) in the long run. Periodic inspections after application especially after heavy rains help catch early signs of trouble.
Maintenance: Keeping Leaks (and Headaches) Away
Regular maintenance keeps water tank waterproofing working its magic for years. Here’s how to stay ahead of leaks and contamination:
- Inspect the tank for cracks, damp spots, or peeling coatings every 3–6 months.
- Clean and empty storage tanks at least once a year to prevent buildup of sediment or algae.
If you spot leaks or suspect a problem, address it sooner rather than later. Early repairs are almost always easier and cheaper than waiting for bigger issues.
Buying Guide: Choosing the Right Waterproofing Solution
Before investing in any waterproofing product or service, ask yourself:
- Is it drinking water safe? Only use certified, non-toxic products in potable water tanks.
- Will it last? Look for products that can withstand UV, chemical exposure, and temperature shifts if your tank is above ground.
- Is it right for my tank material? Match the waterproofing solution with your tank’s construction be it concrete, plastic, or metal.
Reading reviews and consulting professional installers can make the decision easier. And if in doubt, local water supply authorities or health agencies often have recommendations tailored for your area.
Conclusion: Protect Your Water, Protect Your Peace of Mind
At the end of the day, water tank waterproofing is about more than just preventing leaks it's about safeguarding the water your household relies on, reducing waste, and dodging emergency repairs. Whether you’re tackling a DIY job or bringing in the pros, the right methods and maintenance make all the difference.